SSO with Microsoft Azure
The following documentation explains how to configure SSO for your GitLab with Microsoft Entra ID (formerly Azure AD).
Prerequisites
To configure SSO on your GitLab, you need:
- Your GitLab URL (e.g.,
https://gitlab.example.com) - An administrator access to your Microsoft Azure tenant
If you encounter any difficulties, do not hesitate to contact one of our Azure experts on MyAdista.
Create an Azure application
To enable Microsoft SSO, you must create an application in Entra ID and collect some information.
-
Sign in to Microsoft Entra ID
-
From the Overview, note your Tenant ID:

-
Click Add, then select App registration:

-
Fill in the following settings:
- Name: GitLab
- Supported account types: Accounts in this organizational directory only
- Redirect URI: Web Platform,
https://gitlab.example.com/users/auth/azure_oauth2/callback

-
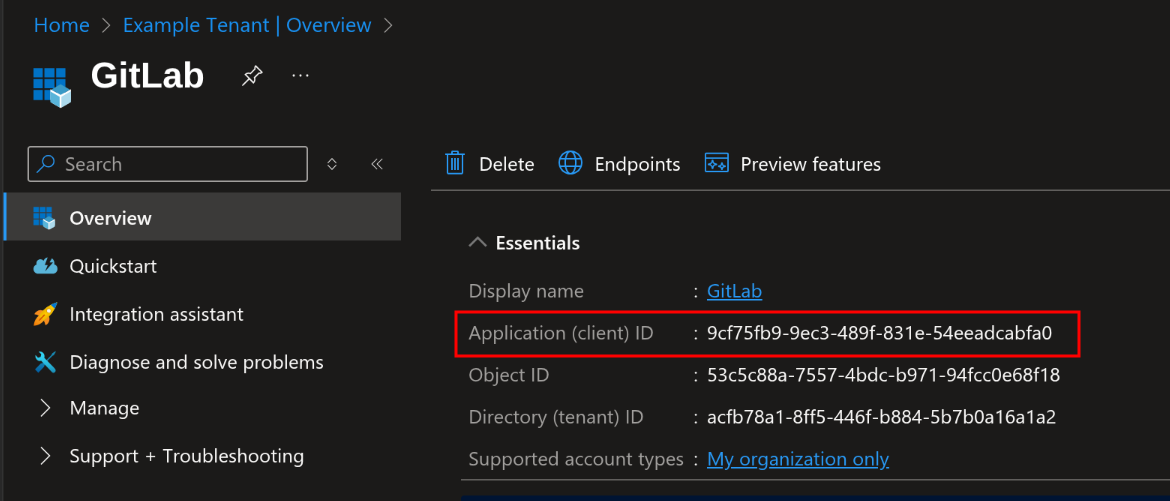
Once on the application page, note its ID (Application (client) ID):
-
In the left-hand menu, under Manage, click on Certificates & secrets:

-
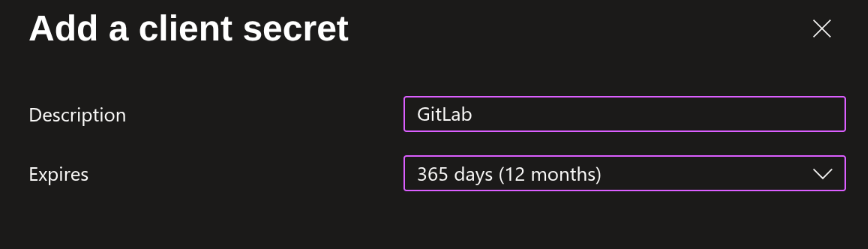
In the Client secrets tab, click New client secret:

-
Enter a description and set an expiration date:
 warning
Please note that secrets have an expiration date and will need to be renewed periodically!
-
Note the value of the newly created secret:
 warning
Be sure to copy the Value column, not the Secret ID!
Send the information
Send the following information to your adista technical contact:
- Tenant ID (from step 2)
- Application ID (from step 5)
- Secret Value (from step 9)
Your technical contact will take care of the necessary steps on your GitLab.
Access Control (Optional)
To define which people in your company can access GitLab, follow these steps:
- From the Entra ID Overview, open the Manage menu and click on Enterprise applications.
- Click on the application you created earlier.
- Go to Manage and then Users and groups.
- Click on Add user/group.
- Select the users or groups you want to authorize and click Assign.